Image Skincare
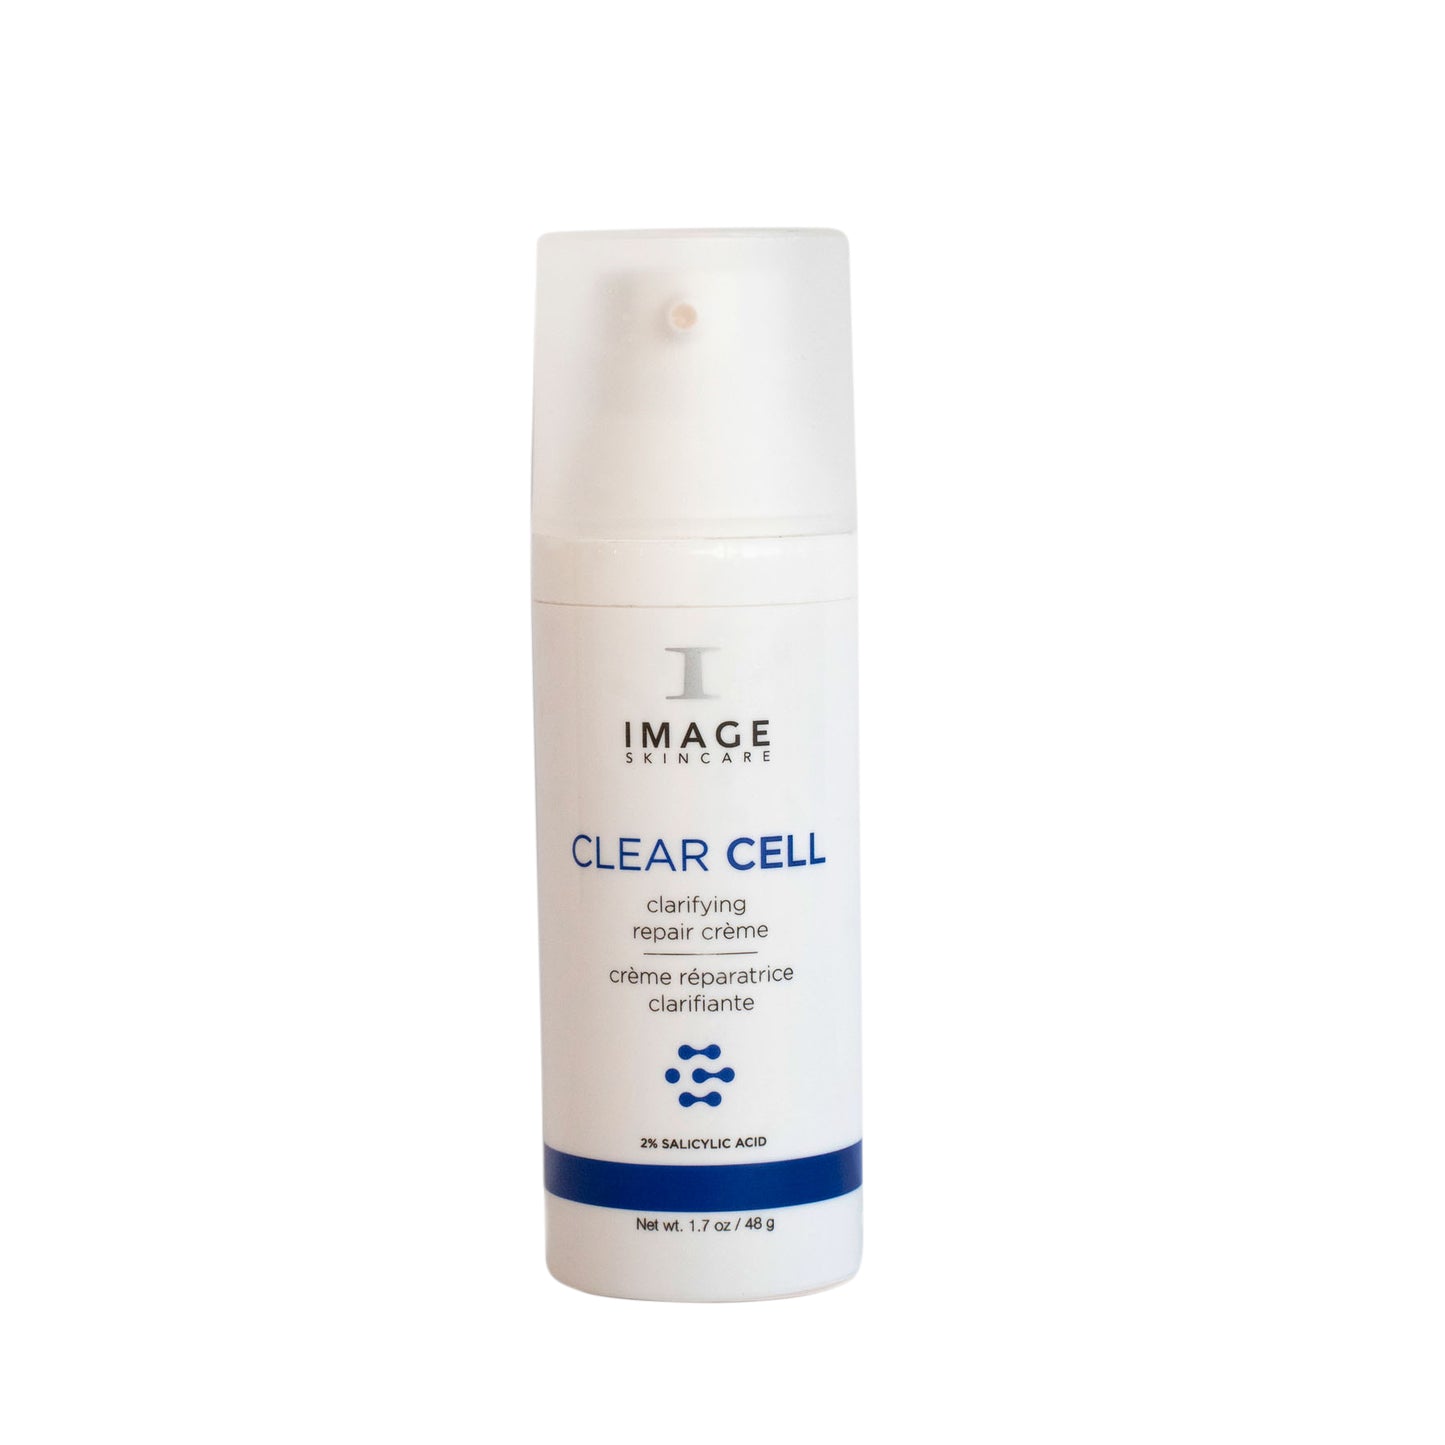
Image Skincare CLEAR CELL Clarifying Repair Cream 48 gr
Image Skincare CLEAR CELL Clarifying Repair Cream 48 gr
Let op: Door drukte en feestdagen kan de levertijd bij sommige producten oplopen tot 5 werkdagen. Bedankt voor uw begrip!
Couldn't load pickup availability
✔ Targeted acne treatment
✔ Oil regulating formula
✔ Solution for repairing imperfections

Extensive product description
Extensive product description
The Image Skincare CLEAR CELL Clarifying Repair Cream is an innovative and advanced cream specifically designed to treat acne and address blemishes. This product is formulated with powerful active ingredients that work together to cleanse, repair, and renew the skin while simultaneously controlling the signs of acne. It's an excellent choice for those with oily or acne-prone skin looking for an effective solution to improve their skin condition.
Active Ingredients and Effects
Sebum Production Regulation
The CLEAR CELL Clarifying Repair Cream effectively helps reduce excess sebum production, one of the main causes of acne. By balancing the sebaceous glands, the cream prevents pores from becoming clogged with oil, which often leads to breakouts and inflammation.
Clogged Pores Cleansing
The cream contains ingredients designed to unclog pores. By reducing the buildup of sebum and dead skin cells, it helps keep pores clear, which helps prevent future breakouts and improves skin texture.
Calming and Soothing Properties
Acne is often accompanied by inflammation, redness, and irritation. The soothing ingredients in the cream work actively to soften the skin, reduce inflammation, and soothe redness. This contributes to a more even complexion and reduces the discomfort often associated with acne breakouts.
Hydration and Skin Tone Evening
Although the cream is specifically targeted at oily and acne-prone skin types, its light, non-greasy formula provides ample hydration. This helps repair and renew the skin without weighing it down or increasing oil production. The cream also helps even out skin tone, reducing the appearance of blemishes and imperfections.
Antioxidant protection
The addition of antioxidants helps protect the skin from the damaging effects of free radicals, which can damage the skin and accelerate the aging process. These antioxidants promote healthier, more radiant skin by providing a protective shield against environmental stressors such as pollution, sun exposure, and other external factors.
Additional Benefits
Light, non-greasy formula: The cream hydrates the skin without leaving a greasy or heavy feeling, making it ideal for oily and combination skin types.
Improves long-term skin health: In addition to tackling acne, the cream offers long-lasting benefits, such as reducing blemishes and promoting healthy, radiant skin.
Combine with other products from the CLEAR CELL line: For optimal results, this cream can be combined with other products from the Image Skincare CLEAR CELL line, such as cleansers, toners, and serums. By following a consistent routine, you'll achieve the best results and can expect a long-lasting improvement in your overall skin health.
How do I use this product
How do I use this product
1: Cleaning:
Start by cleansing your face with a gentle cleanser suitable for oily and acne-prone skin. This removes dirt, makeup, and impurities and prepares your skin for the next steps.
2: Toner (optional):
If desired, you can apply a toner to balance your skin and remove any remaining impurities. Choose a toner that doesn't contain alcohol, as this can dry out your skin.
3: Spot treatment (if necessary):
If you have active pimples or inflammation, you can apply a targeted spot treatment before applying the cream. This helps reduce pimples and soothe inflammation.
4: Image Skincare CLEAR CELL Clarifying Repair Cream:
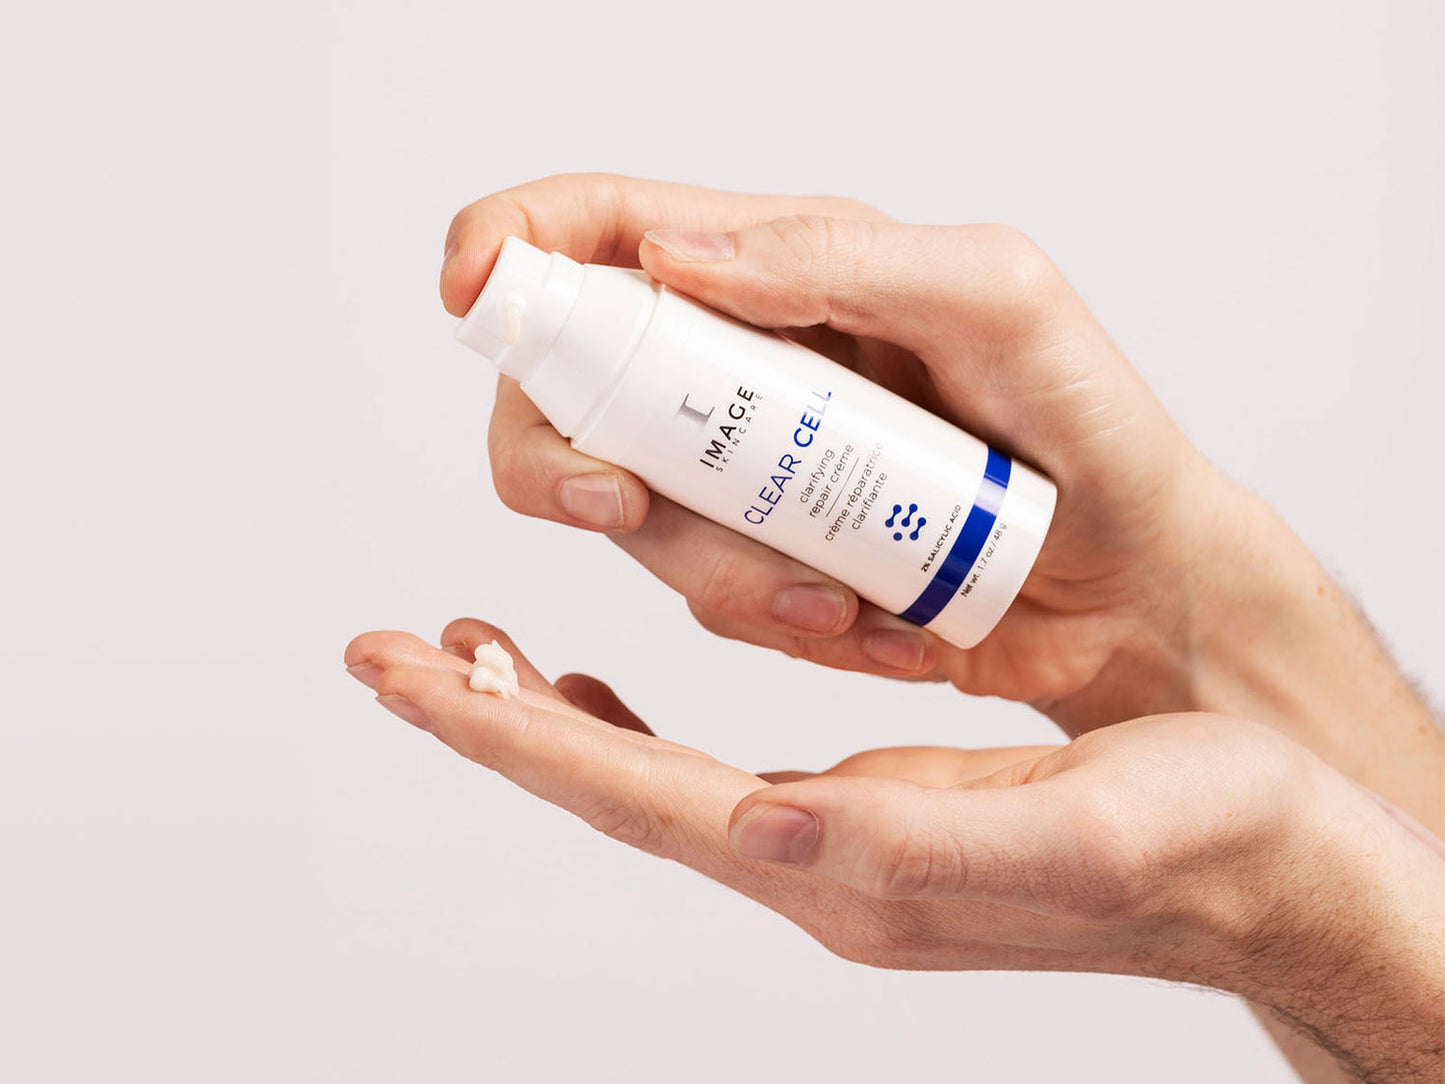
Take a small amount of cream on your fingertips and spread it evenly over your face. Start at your forehead, then move down to your cheeks, nose, and chin, ending with your neck. Gently massage the cream in with upward strokes.
5: Sunscreen (daytime):
If you use the cream in the morning, apply a broad-spectrum sunscreen with at least SPF 30 before going outside. This will protect your skin from harmful UV rays and prevent further skin damage.
Image Skincare CLEAR CELL Clarifying Repair Cream can be used both morning and evening as part of your daily skincare routine. For best results, use it consistently and in combination with other products from the Image Skincare CLEAR CELL line, as appropriate. If you are sensitive to any ingredients or experience any skin reactions, discontinue use and consult a skincare professional for advice. Download hi
Active substances
Active substances
Salicylic Acid: A beta-hydroxy acid (BHA) that helps exfoliate dead skin cells, cleanse clogged pores and reduce inflammation.
Niacinamide: Also known as vitamin B3, this ingredient helps regulate sebum production and reduce redness and inflammation.
Tea tree oil: A natural antibacterial ingredient that can help fight acne-causing bacteria and inflammation.
Retinol: A form of vitamin A that stimulates cell turnover, improves skin texture and can reduce the formation of blackheads.
Antioxidants: These help fight harmful free radicals that contribute to premature aging and skin irritation.
It is important to check the product packaging for a complete list of active ingredients and their concentrations. If you have allergies or are sensitive to certain ingredients, it is advisable to perform a patch test and/or consult a skin care specialist before using the cream. This way you can be sure that the product is suitable for your skin type and condition.
Contents
Contents
48 mL
Article number
Article number
819984016941
To share


Ask for product advice!
Do you have a specific question about your skin, our products or one of our treatments? Our skin therapists are ready to answer all your questions


